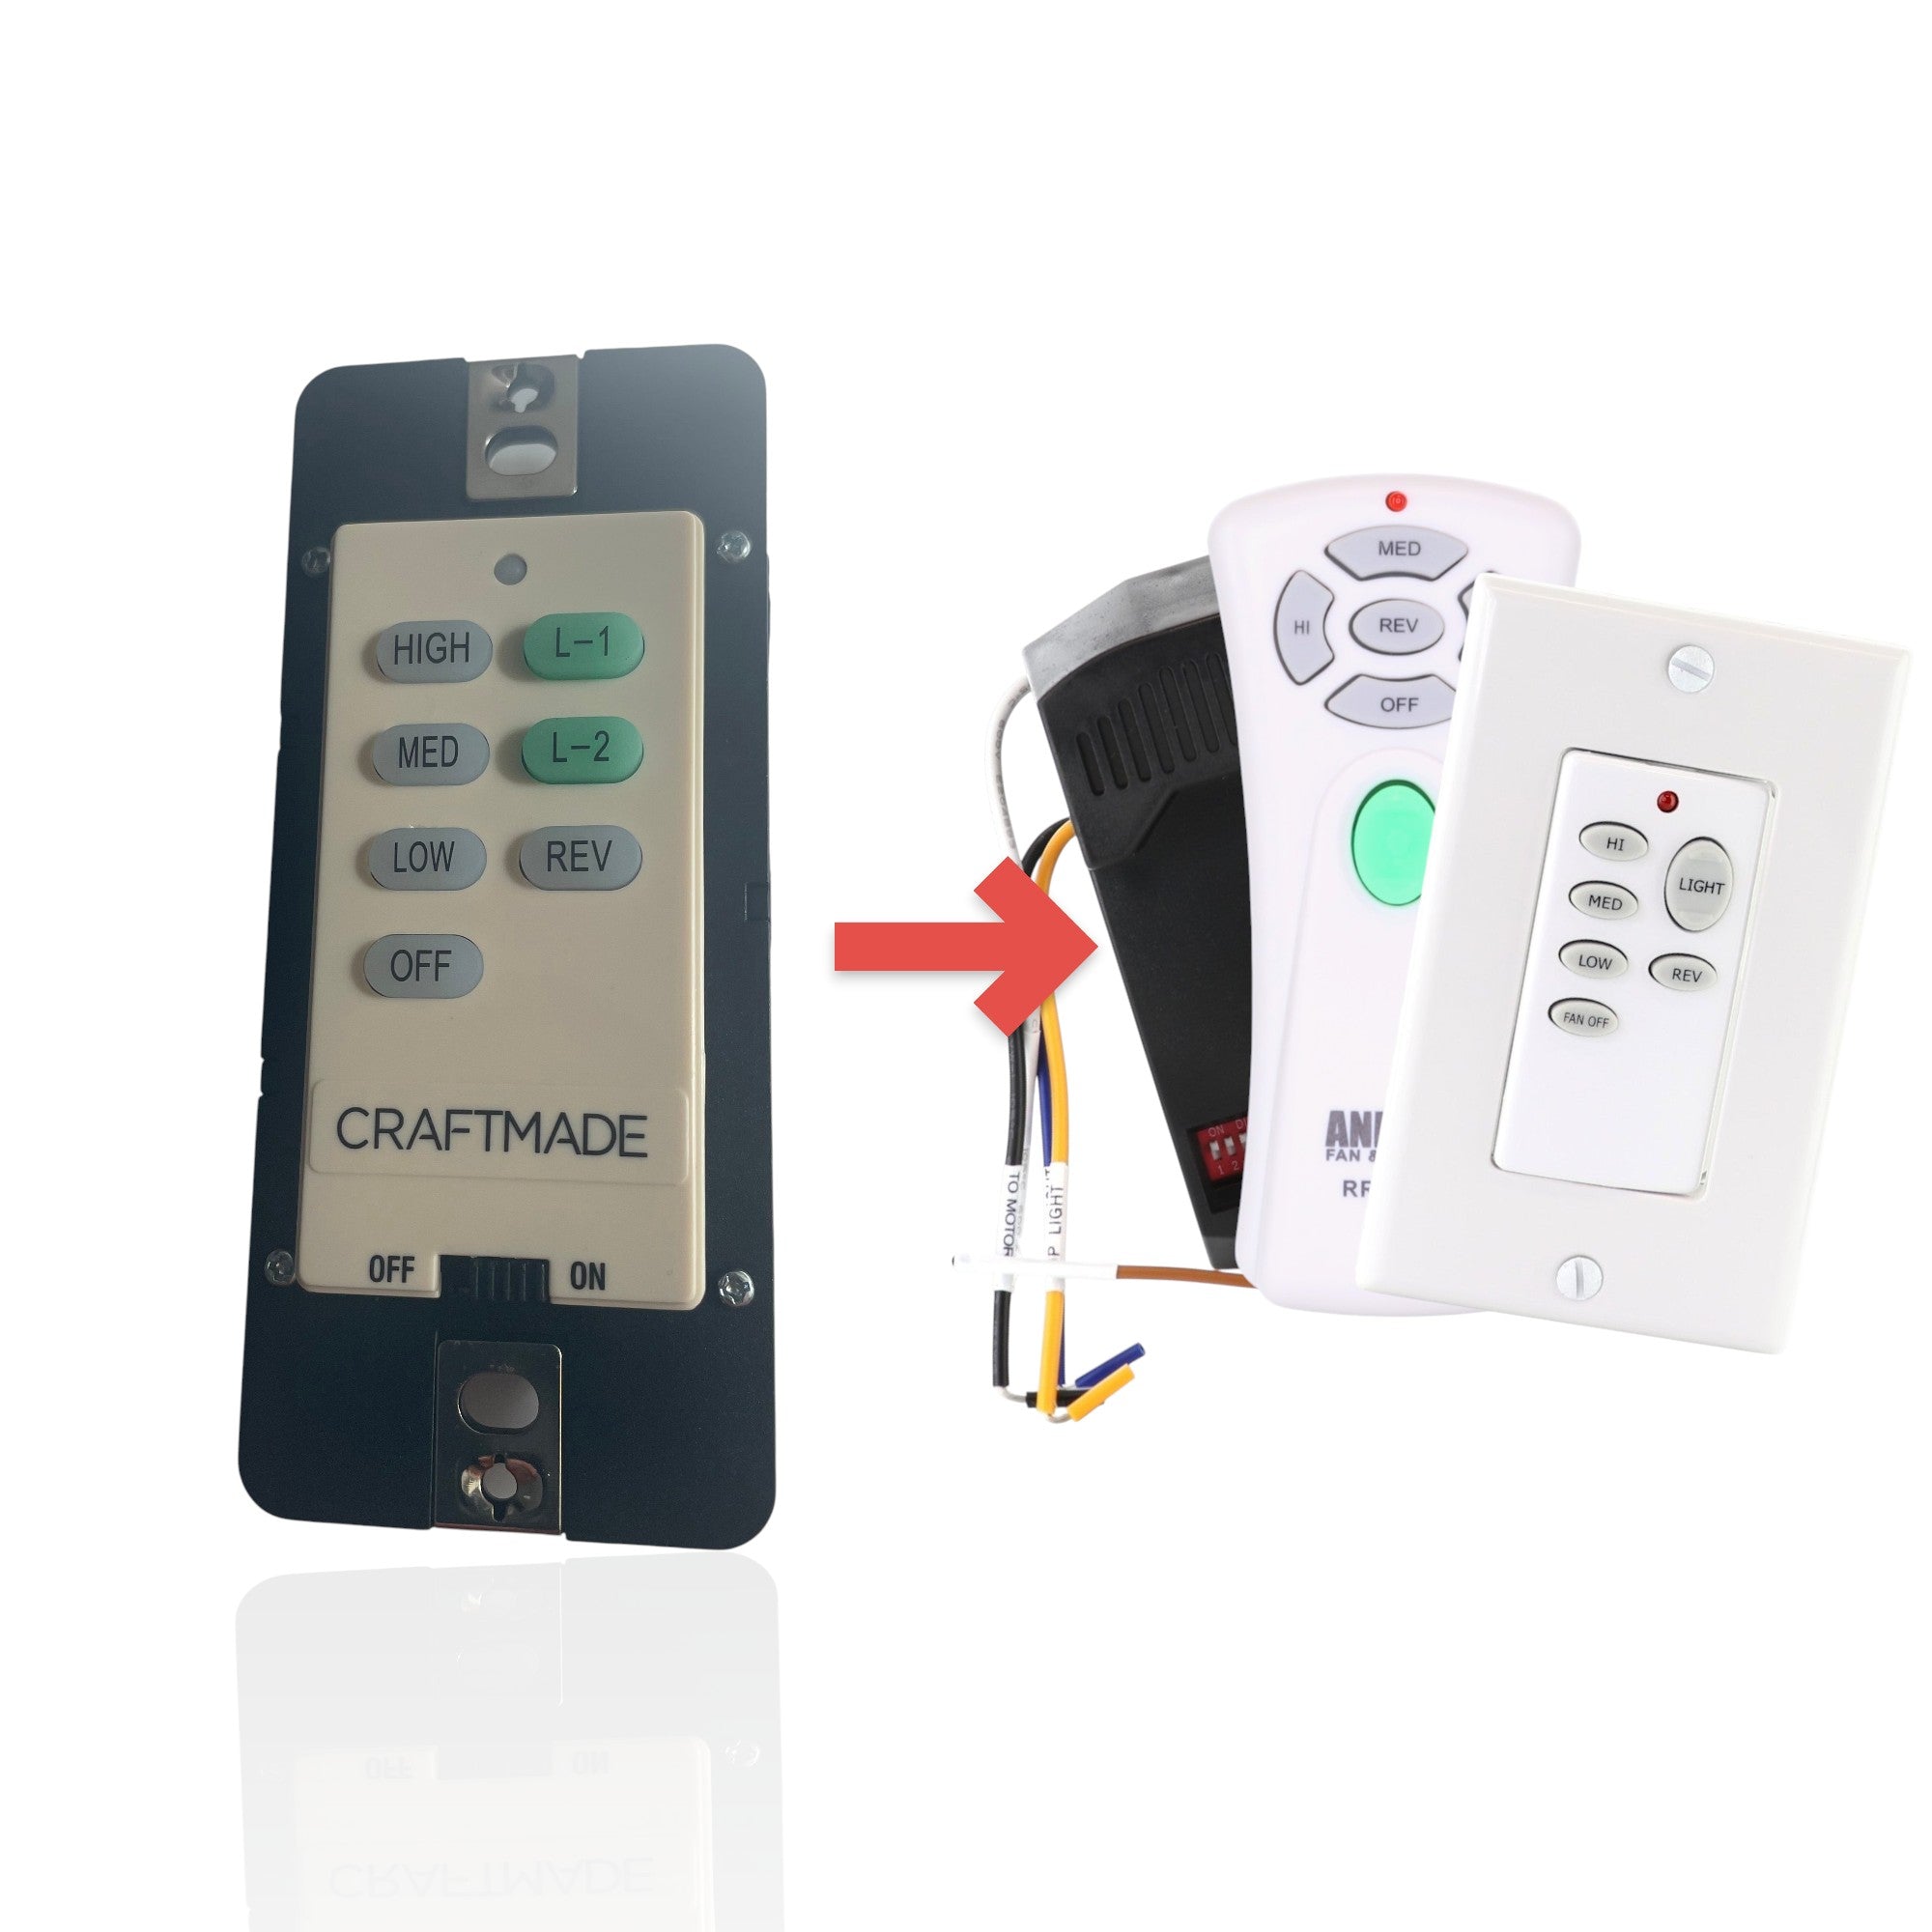
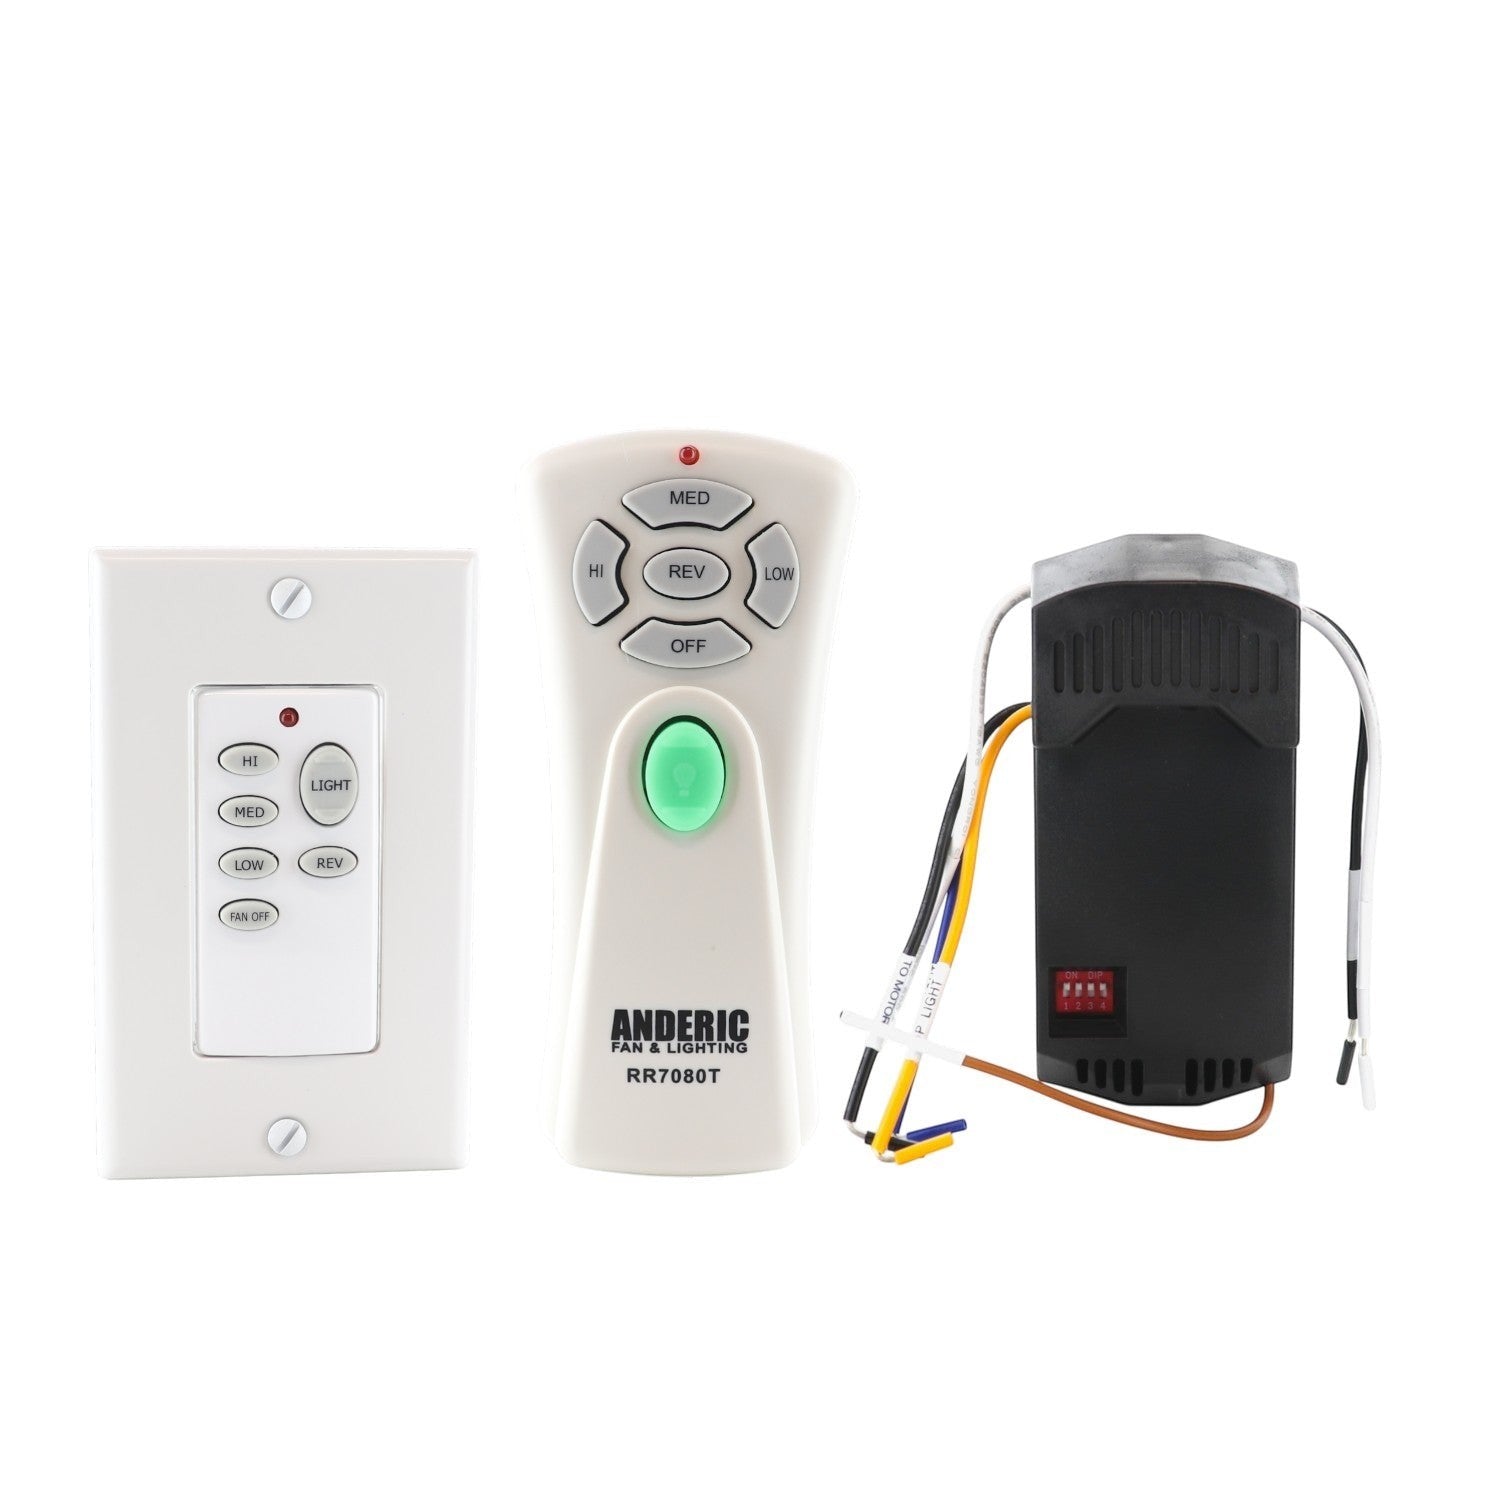
The Anderic UNVWALLKIT001 is a substitute for the Craftmade UC7224T/CHQ7224T. It is a ceiling fan remote and receiver kit (UC7080T handheld remote, UC7051T wireless wall remote and UC7067GMRX receiver).
Specifications
- Kit: Anderic UNVWALLKIT001
- Radio frequency (RF)
- Battery: 1 9-Volt (not included)
Good to Know
- It comes with its own receiver and remote; the existing receiver and remote are not used.
- For 3-speed AC ceiling fans; the UC7067GMRX receiver is wired into the fan canopy.
- The included wall control is a battery-powered wireless wall remote, not a wired wall control.
- The reverse (REV) key works only if your fan supports reverse.
- Key names, layout and the look of the case may differ from the original. Compare your original's buttons before ordering.
Setup / Pairing
Step 1: Install the UC7067GMRX receiver
- WARNING: High voltage. Turn off power to the fan by removing the fuse or switching off the circuit breaker.
- Remove the fan canopy from the mounting bracket.
- Disconnect the existing wiring between the fan and the supply at the junction box. If you are replacing a receiver, disconnect all of its wires.
- Lay the black antenna wire on top of the receiver and put the receiver in the mounting bracket.
- Connect with the supplied wire nuts: black receiver wire (AC IN L) to black supply wire; white receiver wire (AC IN N) to white supply wire; white receiver wire (TO MOTOR N) to white fan wire; black receiver wire (TO MOTOR L) to black fan wire; blue receiver wire (FOR DOWN LIGHT) to blue fan wire; red receiver wire (FOR UPPER LIGHT) to red fan wire.
- Before closing up, note the dip switch pattern on the receiver.
- Push all connected wires up into the junction box, reinstall the canopy and restore power.
Step 2: Set up the UC7051T (CHQ9051T) wireless wall control
- Remove the faceplate by unsnapping it, using the notch at the bottom of the unit.
- Insert the battery (not included) into the battery compartment.
- Set the dip switches to EXACTLY match the dip switch pattern on the receiver.
- Snap the faceplate back on.
Step 3: Match the UC7080T handheld remote
- Push firmly below the arrow and slide the battery cover off the remote.
- Set the remote's 4 dip switches to EXACTLY the same up/down pattern as the receiver (and the wall control). Use a small screwdriver or the tip of a ballpoint pen. The factory default is all switches up.
- Install the 9V battery (not included) and replace the battery cover.
- Test the fan and lights.
The wall control and the handheld remote must both be set to the same pattern as the receiver. The reverse (REV) button only works if your fan supports reverse.
The remote only works when its 4 dip switches are set to exactly the same up/down pattern as the receiver's switches.
What's in the Box
- 1 remote and 1 receiver
- Battery not included
Compatible Models
- Craftmade UC7224T/CHQ7224T
Before ordering, check the model or part number printed on your old remote (usually on the back or inside the battery compartment) and compare it to this list.