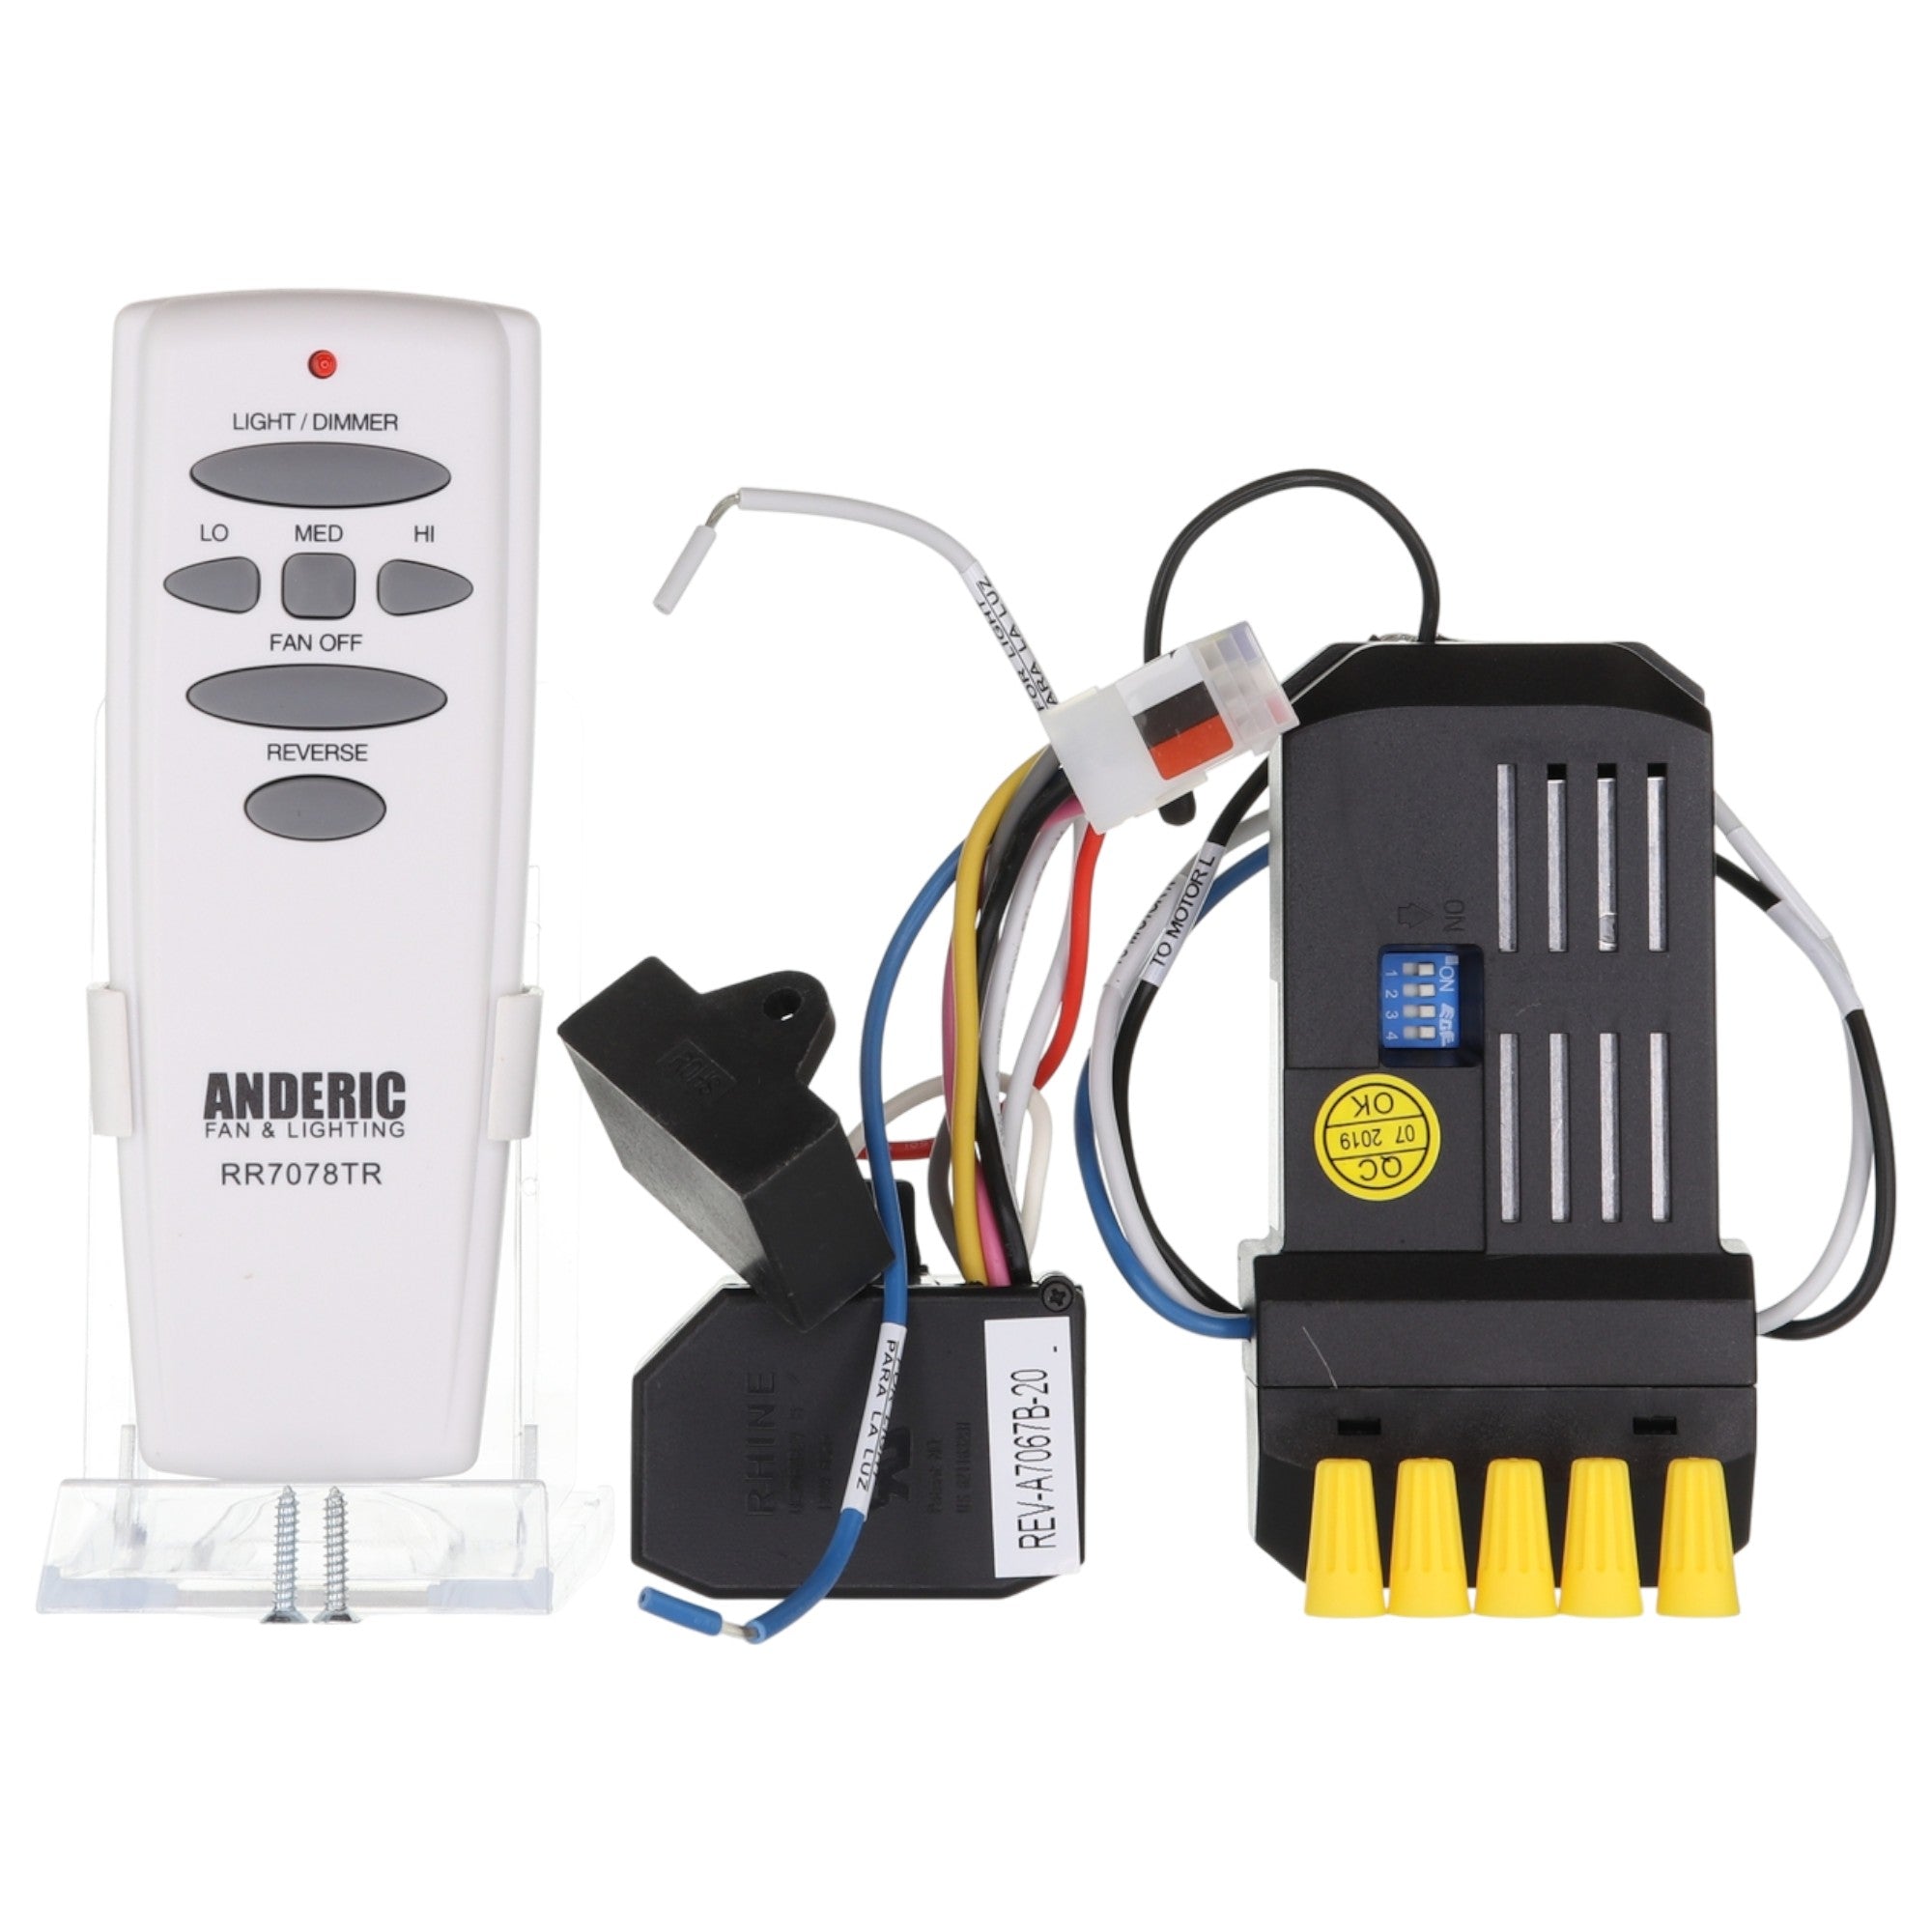
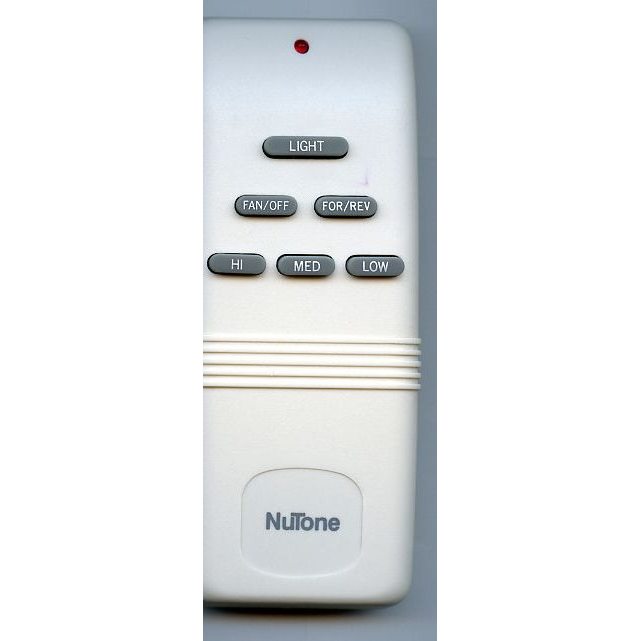
The Anderic FAN28RREVKIT is a substitute kit for the Nutone G9P2BTAUC7052T: an RR7078TR remote with reverse key, a UC7067FMRX receiver and a UC7067REVB reverse module on 304 MHz.
Specifications
- Kit: Anderic FAN28RREVKIT
- Radio frequency (RF): 304 MHz
- Battery: 1 9-Volt (not included)
Good to Know
- It replaces the remote, receiver and reverse module; your existing remote does not pair with the new receiver.
- It is only for fans that already have a canopy receiver and a reverse module. It does not work on fans with a manual reverse switch on the motor.
- It works on 304 MHz only and pairs by dip switches.
Setup / Pairing
Step 1: Install the UC7067FMRX receiver
- WARNING: High voltage. Turn off power to the fan by removing the fuse or switching off the circuit breaker.
- Remove the fan canopy from the mounting bracket.
- Disconnect the existing wiring between the fan and the supply at the junction box. If you are replacing a receiver, disconnect all of its wires.
- Lay the black antenna wire on top of the receiver and put the receiver in the mounting bracket.
- Connect with the supplied wire nuts: green fan wire to bare supply wire; black receiver wire (AC IN L) to black supply wire; white receiver wire (AC IN N) to white supply wire; white receiver wire (TO MOTOR N) to white fan wire; black receiver wire (TO MOTOR L) to black fan wire; blue receiver wire (FOR LIGHT) to blue light wire.
- Push all connected wires up into the junction box and reinstall the canopy.
- Before closing up, note the dip switch pattern on the UC7067FMRX receiver.
Step 2: Install the UC7067REVB reversing module
- Remove the fan's motor housing to reach the wiring.
- Keep the breaker OFF throughout receiver and module access. Disconnect the old reversing module's 9-pin connector from the matching fan-MOTOR harness (the original diagram labels this connector to the motor), not from the loose-wire UC7067FMRX receiver. Remove the wire nuts on the blue and white light wires and remove the old module.
- Reconnect the new UC7067REVB 9-pin square plug securely to the matching fan-MOTOR harness as the original diagram labels. Do not plug it into the UC7067FMRX receiver. Reconnect existing light wiring per the exact diagram and reassemble before restoring power. If the harness differs, use a qualified installer; do not improvise motor wiring.
- Reconnect the blue and white wires with wire nuts, matching the old remote wiring, with no bare wire exposed.
- Reassemble the fan.
Step 3: Match the RR7078TR remote to the receiver
- Open the battery compartment (on some remotes the battery covers the switch panel, so set the switches first).
- Set the remote's 4 dip switches to EXACTLY the same up/down pattern as the receiver's switches. The factory setting is all up; a different pattern is recommended.
- Install the battery (not included), matching the polarity marks, and close the compartment.
- Restore power and test the fan and light.
The remote only works when its 4 dip switches are set to exactly the same up/down pattern as the receiver's switches.
What's in the Box
- RR7078TR remote, UC7067FMRX receiver and UC7067REVB reverse module (battery not included)
- Battery not included
- RR7078TR remote + UC7067FMRX receiver + UC7067REVB reverse module; battery not included
Compatible Models
- Listed for the Nutone G9P2BTAUC7052T. Made for Hampton Bay 56 in. Altura-style fans with a canopy receiver and reverse module
Before ordering, check the model or part number printed on your old remote (usually on the back or inside the battery compartment) and compare it to this list.